Primary Wound Closure
Wound Closure
Each aspect of wound closure is important and attention to detail will give superior cosmetic and functional results both in the short and long term.
Instruments –
Use a fine skin hook or non-toothed forceps on wound edges.
Sutures –
The size, curve and point on the needle should be chosen to suit the job. The thickness and absorbability of the thread are also important.
Layers –
There should be minimal tension on the most superficial stitches. According to site one or several layers of sutures may be needed to close a wound. On the thigh for example 2 layers of continuous fat sutures followed by buried dermal and a non-absorbable skin layer may be needed.
Suturing
All wounds, except the smallest, should be sutured in layers. Deep absorbable sutures bring the skin edges into apposition and then superficial sutures of monofilament material are placed with just sufficient tension to hold the skin edges in apposition and prevent unnecessary movement. These skin sutures can be removed after only a few days, as the deep sutures remain in situ to maintain the strength necessary for wound healing.
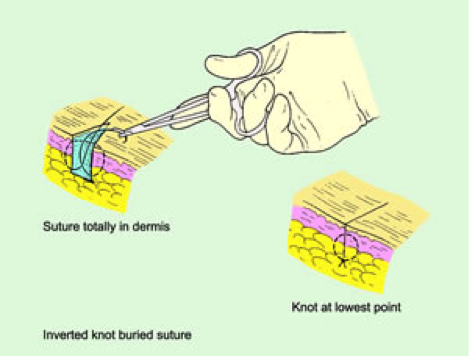
To prevent the knots from the buried sutures being ejected through the skin, the knots are tied at the lower part of the suture so that they will lie in the deepest part of the wound. The needle is inserted at the base of one side of the wound and brought up near the skin, crosses the wound to the opposite side at approximately the same level, reinserted and run down to the base of the wound again. This brings both ends, the needle end and the other free end, to come out at the bottom of the wound. The knot is tied and the suture cut very short. In a very deep wound, several layers may be necessary to close the defect. Once the skin edges are lying together, the monofilament nylon is inserted as an interrupted or running suture.
It is recommended that interrupted sutures are used initially. Nylon materials are more slippery than braided materials or silk and hence care is needed in tying the knots. Extra turns need to be put in, particularly into the first throws where it is recommended that two, or occasionally three, turns are used, with one turn of the opposite way for the second layer, and one turn again the opposite way to that in the third layer; in other words in the same way as the first throw for the top layer.
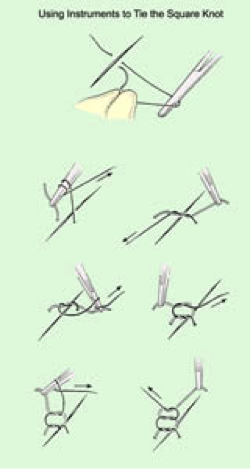
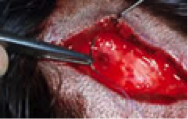
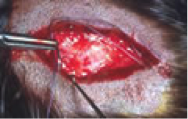
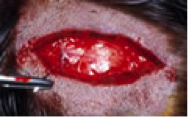
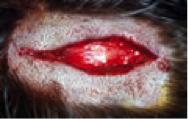
Simple Sutures with Square Knots
 |
 |
 |
 |
 |
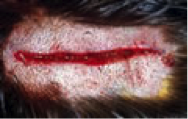 |
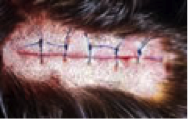 |
Dermal Buried Suture
(with inverted knot) – Most wounds should have some buried sutures in vicryl or PDS. They close the dead space and take the tension off wound edges. The knot must be formed at the deep aspect to avoid sticking up through the wound. Tie with a square knot (Fig 1).
The far near, near far type of buried stitch results in better eversion of the wound edges. A bite is taken horizontally on one side of the wound followed by an equal sized bite on the other edge so that the needle emerges exactly opposite the initial point of entry.
Skin Surface –
The wound edge should be everted and the angle of the needle adjusted to ensure that the angle of entry is 90° to the skin surface. The thickness of the bite will then be equal at the top and bottom of the wound. A skin hook also helps to ensure that the angle of exit is also 90°. Tie with a square knot. This can have 2 or 3 turns with up to 3 throws on the first turn.
Supereverting Buried Intradermal Suture
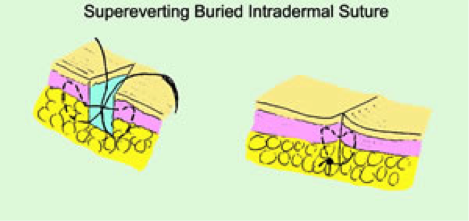 |
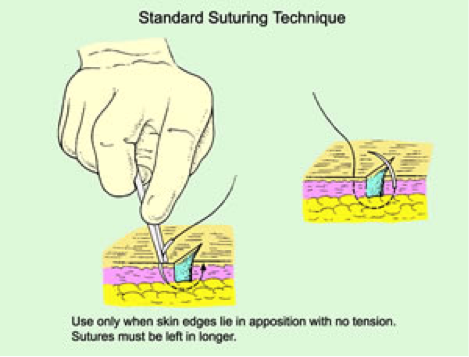 |
 |
Suturing Methods
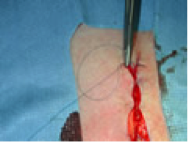
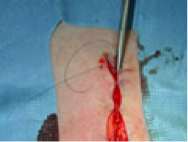
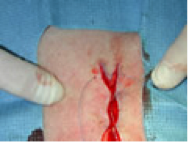
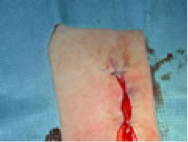
3 Point Suture –
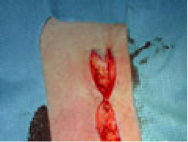
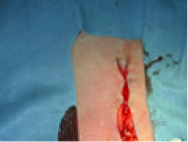
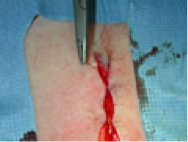
This is especially useful when suturing the point of a flap. The suture only passes through the dermis of the tip and avoids strangling the tissue. The needle enters the skin normally but exits at mid dermis level before passing through the mid dermis of the tip and then through the mid dermis of the other side of the wound and out through the skin.
 |
 |
 |
 |
 |
 |
 |
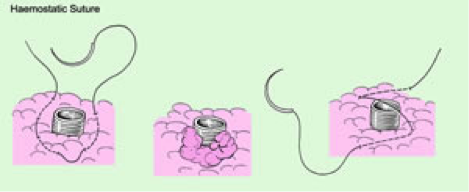
Haemostatic Suture –
Awkward bleeding vessels may need to be sutured. A circumferential stitch can be worked around the artery. However, it is sufficient to insert a cross stitch which enters and leaves the tissue on one side, is carried across the vessel and enters and leaves the tissue on the other side.
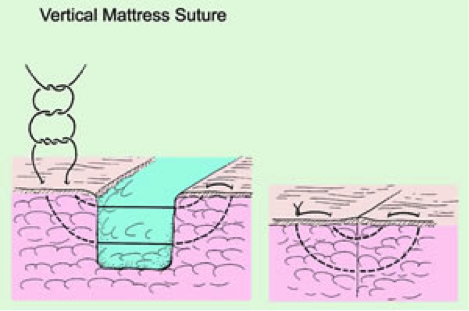
Vertical Mattress Suture –
This is used for closing deep spaces and gives very nice eversion of the wound edge. However well placed buried dermal sutures should produce similar results. Sometimes the situation does not readily permit these dermal sutures and the vertical method comes into its own. Each stitch leaves 4 puncture marks so should be removed early where possible.
________________________________________
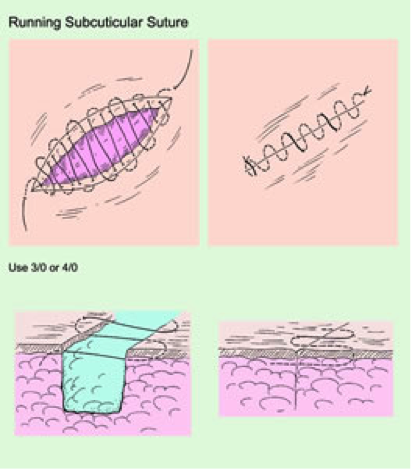
Running Subcuticular
• Used to suture straight wounds
• The skin edges should already be in apposition with no tension. This is achieved with deep sutures.
• Allows stitch to be left in for 2 weeks without stitch marks.
• Especially useful on breast and flexures
• Use 3/0 or 4/0 monofilament
• Curved or straight cutting needle
Technique
• The needle enters beyond one end of the wound and emerges between the wound edges. • Wound edge is everted and the needle takes a small bite of dermis close to the dermis/fat junction. Each subsequent bite should be the same size and at the same depth.
• Cross over to take a bite on the other side backing up a little so that the opposing sutures are staggered.
• Continue to the end and emerge beyond the wound.
• In a long wound it is best to bring the suture out onto the surface half way along, cross over and into the other side before continuing with the subcuticular part. This loop can be cut at the time of suture removal so that there are 2 short pieces to pull out.
• The ends can be tied on themselves, tied around a button, etc. • Cover the wound with a clean dressing, hydrocolloid, etc.
• Remove at 7-10 days by cutting one end very close to the skin end before pulling through from the other end. If absorbable monofilament suture is used (e.g. PDS) the suture can be left. The ends are snipped flush with the skin at 10 days. The suture is useful for closure of deep wounds on the trunk and limbs as the suture retains its strength for several weeks.
BEWARE
• taking large bites
• varying the depth
• repairing a long wound without a loop in the middle – it may be impossible to remove
